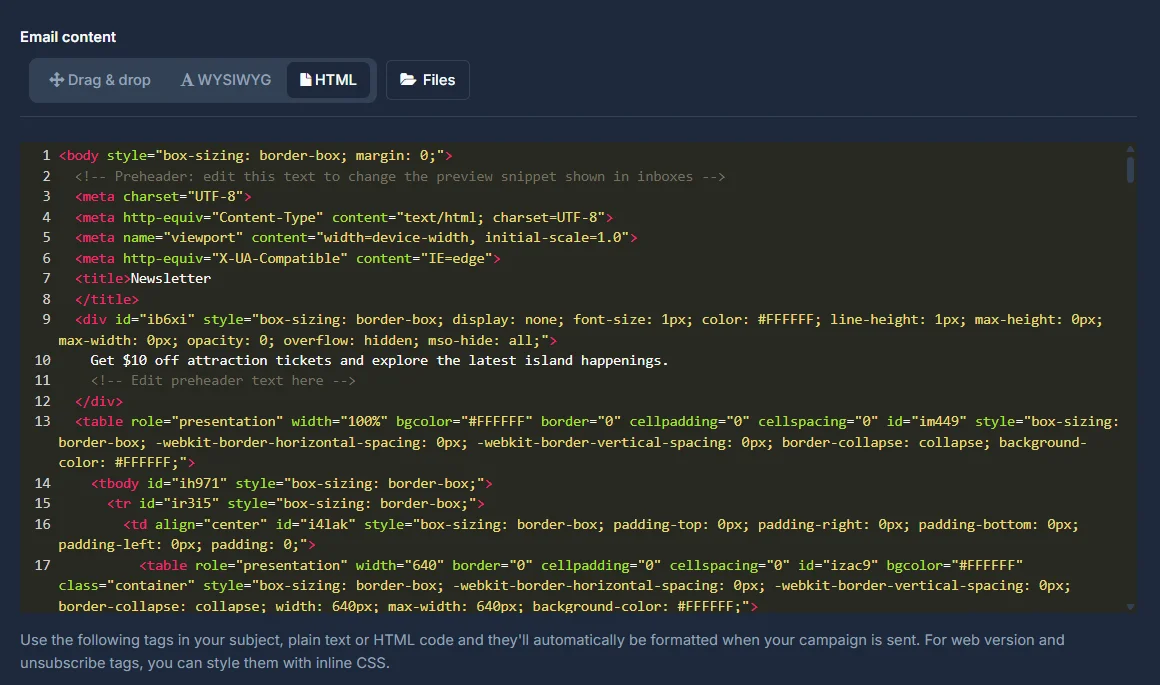
Email content has three different ways to build the same email - Drag & drop, WYSIWYG and HTML - plus a Files tab for anything you've uploaded. This is a closer look at all three, and how editing actually works in each.
Drag & drop mode
The visual, section-based builder - drag blocks onto the canvas, then click into any of them to edit. If you started your campaign from a saved template, this is where it loads in, ready to adjust rather than build from scratch.
The toolbar
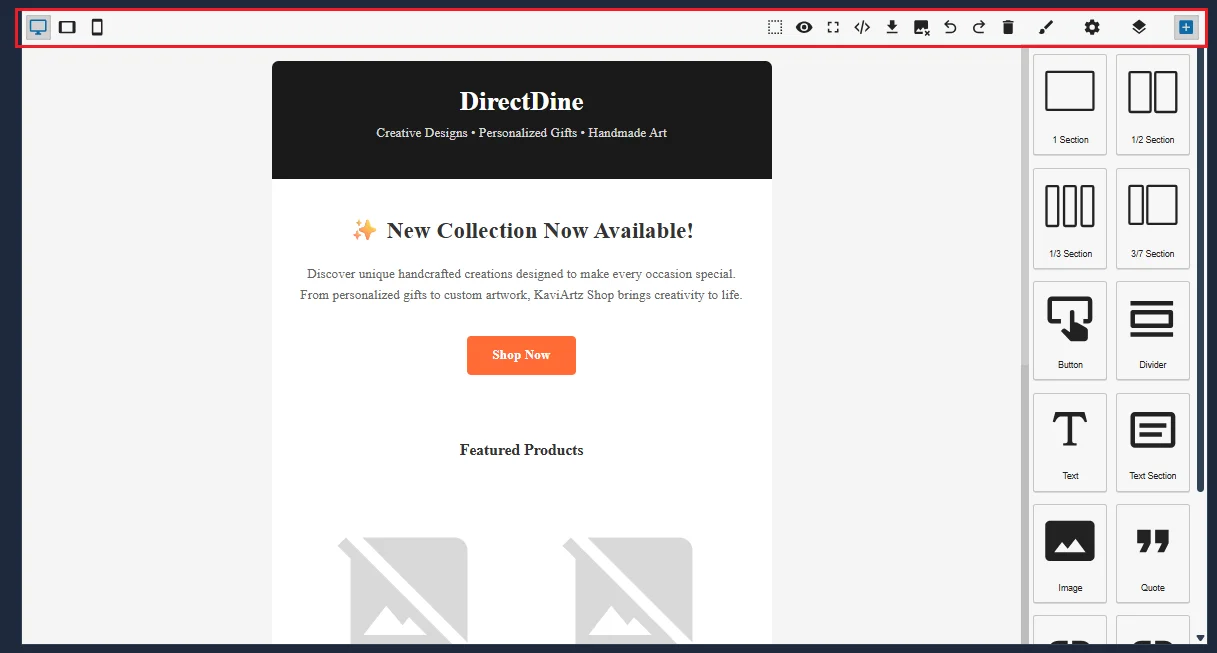
Across the top of the canvas: three icons to preview how the email looks on desktop, tablet and mobile, then a row of editing tools - select, preview, fullscreen, view the underlying code, download, undo and redo, and delete. The gear and layers icons on the right open deeper settings, and the blue + is how you add a new block when nothing's selected.
The block palette
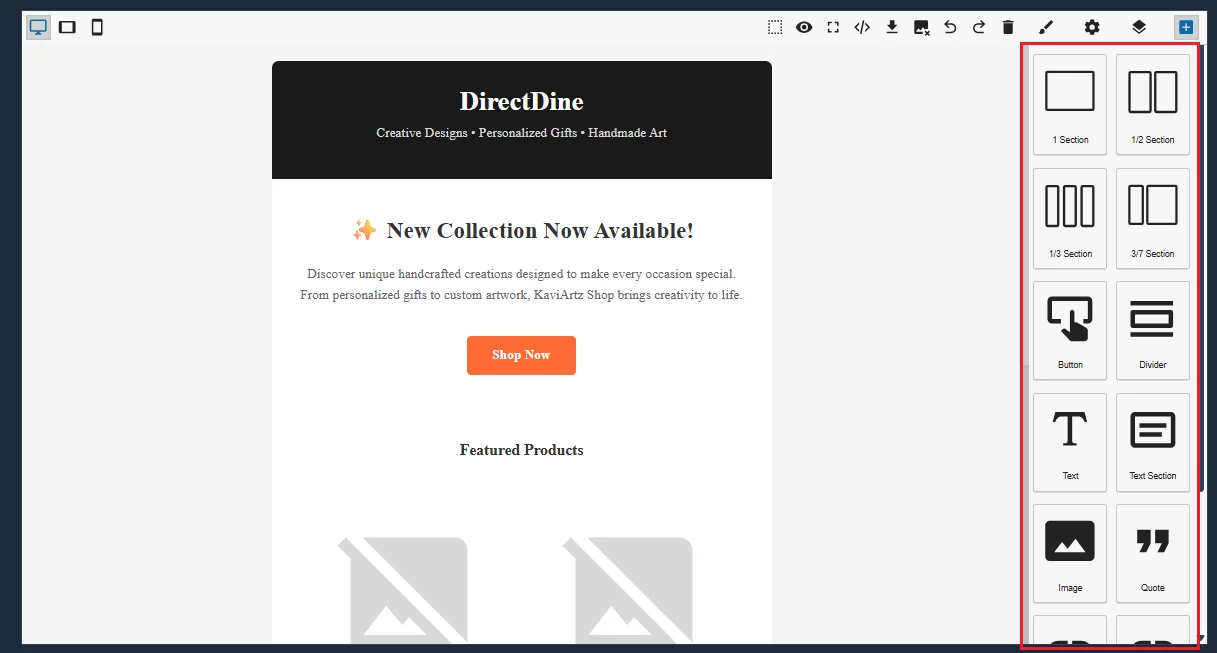
On the right, a palette of blocks you drag onto the canvas to build your email:
- 1 Section - a single full-width container.
- 1/2 Section - two even columns side by side.
- 1/3 Section - three even columns side by side.
- 3/7 Section - two columns with an uneven split, useful for pairing a smaller image column with a wider text column.
- Button - a call-to-action button.
- Divider - a horizontal line to separate content.
- Text - a simple block of copy.
- Text Section - copy paired with its own layout container.
- Image - a picture.
- Quote - a styled pull-quote.
The palette continues below Quote with more block types - scroll down to see the rest. Drop a layout block (one of the Section types) first, then drop content blocks like Text, Image or Button inside it.
Editing a block
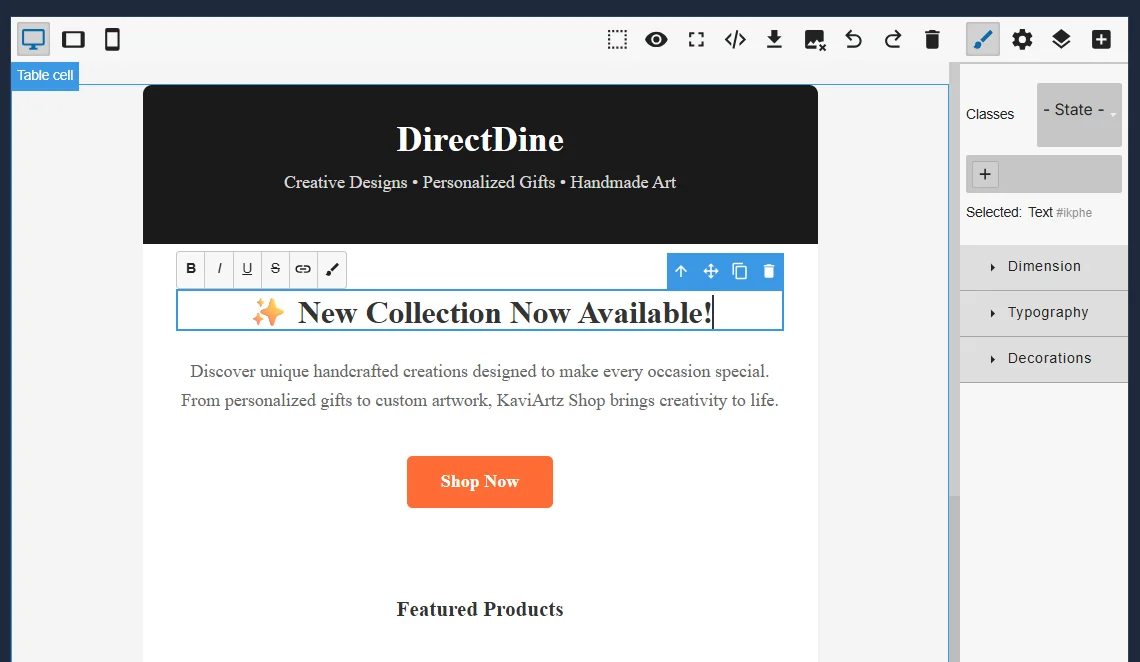
Click into any block already on the canvas to edit it. For text, a small floating toolbar appears right above it - bold, italic, underline, strikethrough, link and colour - so you can format just what you've selected. A move, duplicate and delete icon sit right on the block itself too, and the full panel on the right gives you deeper settings, grouped under Dimension, Typography and Decorations.
You can rearrange blocks by dragging them into a new position, and duplicate one instead of rebuilding it from scratch - both are quicker than starting over when you just want a second version of something already on the page.
Managing your images
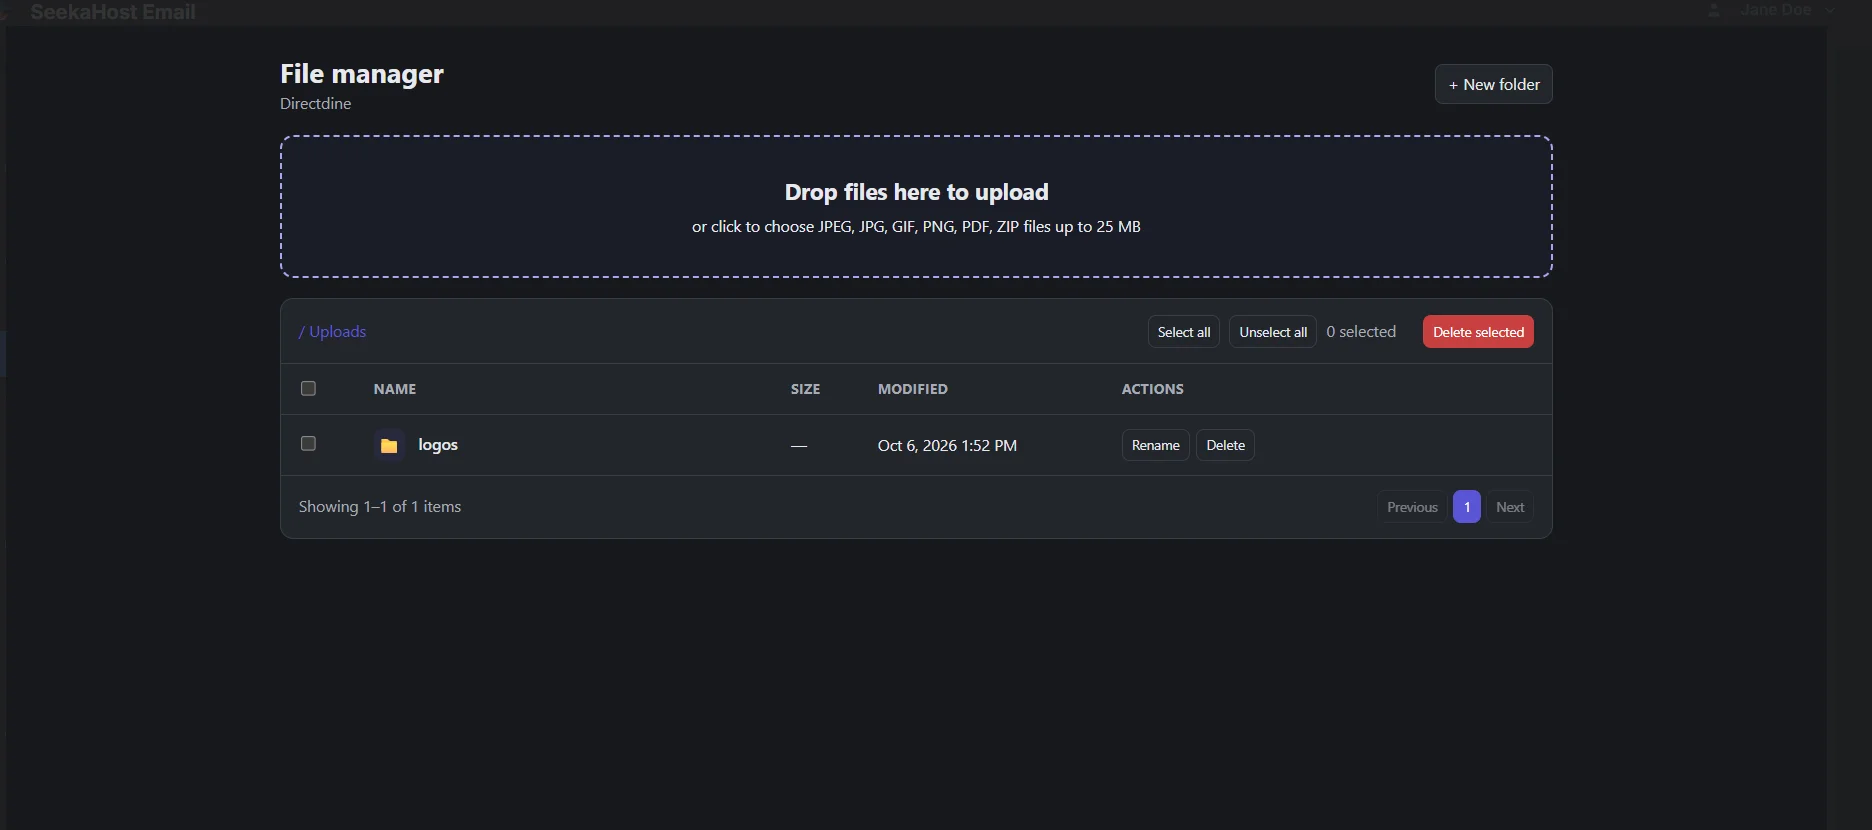
The Files tab opens a proper file manager, not just a simple upload button. Drag files in or click to choose them - JPEG, JPG, GIF, PNG, PDF or ZIP, up to 25MB each - and organise them into folders. Select one or more files to rename or delete them.
WYSIWYG mode
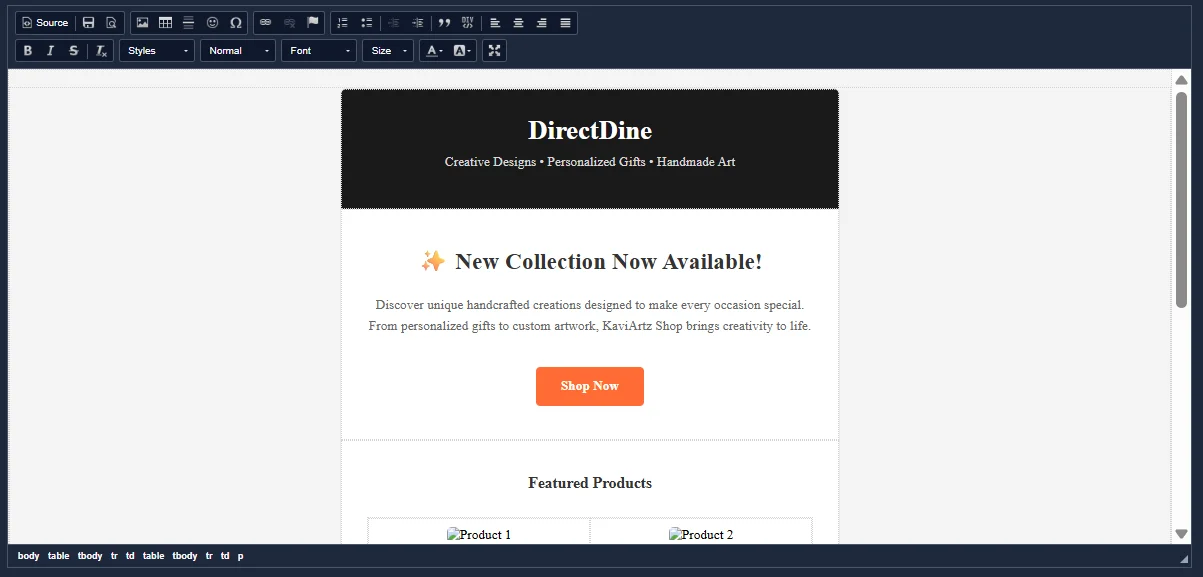
A simpler rich text editor, closer to a word processor than the section-based builder. It edits the same underlying email as Drag & drop - switching tabs doesn't lose your work, it just shows it a different way. The toolbar covers the basics and more: insert an image, table, horizontal line, emoji or special character; add or remove a link; numbered and bullet lists with indent/outdent; blockquotes; text alignment; bold, italic, strikethrough; and Styles, Format, Font, Size and colour pickers. There's also a Source button if you want to drop into the HTML for just one edit without leaving this tab.
HTML mode
The raw source code behind the email, for full control - useful if you're pasting in code from elsewhere, or making a precise change that's fiddly to do visually. Like the other two tabs, it's editing the same email, not a separate copy.